Clay Charms
Making Clay Charms is a fun art project that every student can complete successfully. My students enjoy working with clay and they like making things they can use. The clay charms we made are an ideal project for this reason.
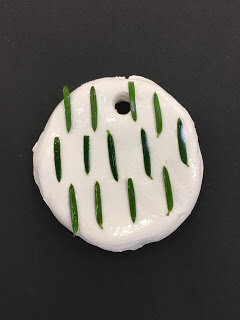
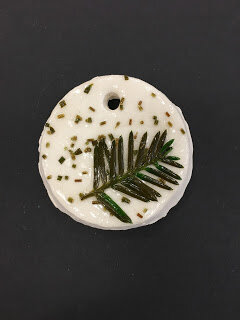
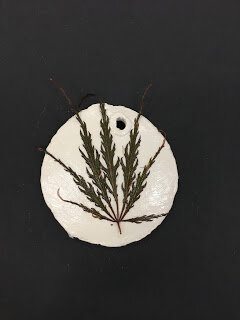
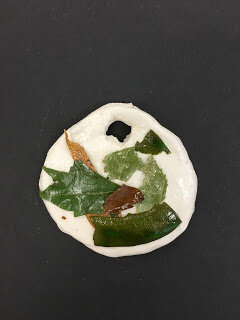
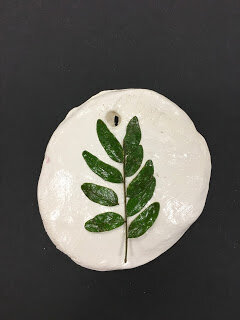
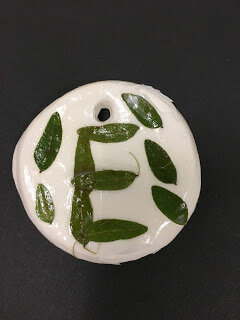
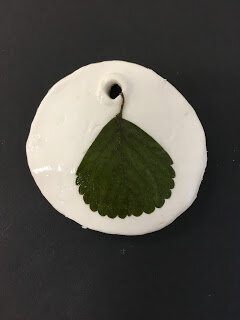
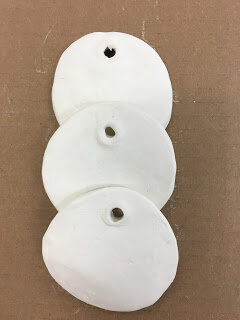
I use Crayola Air Dry Clay to make the charm. I give each child a small fistful of clay. I tell the children that the charm needs to be the size of a silver dollar pancake. I suggest they roll the clay into a ball then flatten it into a pancake with their palm. The charm's thickness should measure no more than a 1/4 inch. I use the end of a pencil to make the hole. The clay charm needs several days to dry completely.
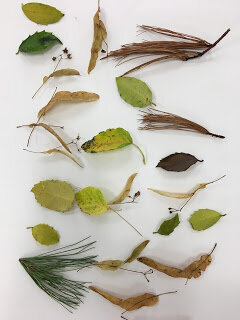
While the charm is air drying you can take your students outdoors to collect interesting items found in nature. After you have collected your materials they should be put on a piece of paper and flattened with a heavy book or object. They need to be flattened so they do not curl up on the charm.
When your charm is dry and your leaves are flattened you are ready to proceed with the final steps. Coat the front of the charm with a layer of Mod Podge. Then, put the leaf (leaves) on the charm and cover it with another layer of Mod Podge. The Mod Podge acts as a glue and a sealer. When the Mod Podge dries your charm will be shiny and protected.
The last step is to put a ribbon or string through the hole and hang your charm where you can enjoy seeing it everyday.